Hey there! As a supplier of discharge rubber hoses, I often get asked about how to connect two discharge rubber hoses together. It might seem like a tricky task, but with the right knowledge and tools, it's actually quite doable. In this blog, I'll walk you through the whole process step by step.
First off, let's talk about why you might need to connect two hoses. Sometimes, the length of a single hose just isn't enough for your project. Whether you're doing some dredging work or other tasks that require fluid or material transfer over a long distance, connecting hoses can extend the reach and get the job done.
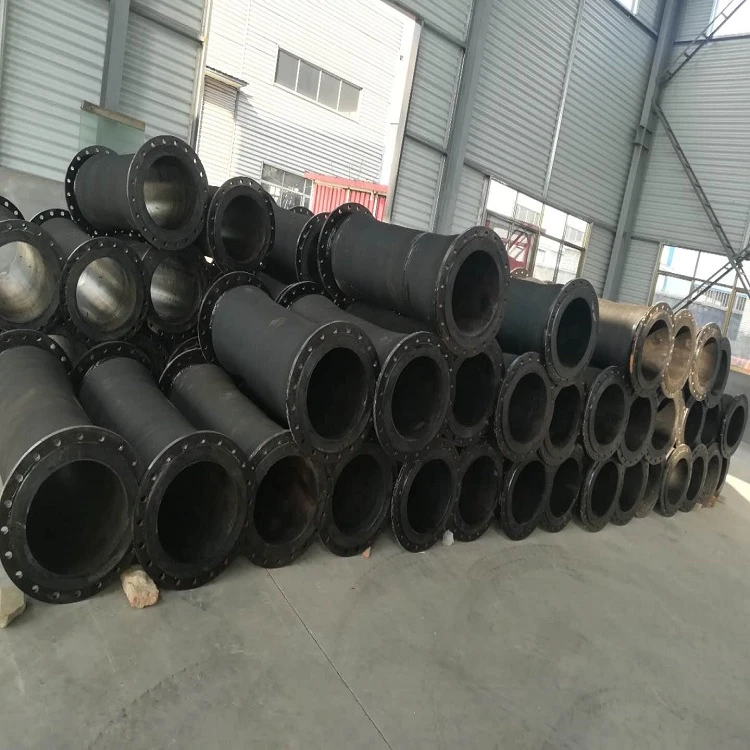
Before we start the connection process, it's important to choose the right hoses. We offer a wide range of Differenct Size Discharge Rubber Hose. Make sure the two hoses you're planning to connect have the same inner diameter. If they don't match, you'll end up with a leaky or inefficient connection. Also, consider the type of hose. For example, if you're dealing with dredging, our Dredging Discharge Rubber Hose is a great choice. It's designed to withstand the abrasive materials often found in dredging operations.
Now, let's get into the actual connection process. There are a few different methods you can use, and I'll cover the most common ones here.
Method 1: Using a Hose Coupling
A hose coupling is a simple and effective way to connect two hoses. Here's how you do it:
- Prepare the hoses: Start by cleaning the ends of the two hoses. Remove any dirt, debris, or old seals. This will ensure a good connection and prevent leaks.
- Choose the right coupling: There are different types of couplings available, such as threaded couplings, quick - connect couplings, and clamp - on couplings. Select the one that's suitable for your hoses and the application. For most discharge rubber hoses, a clamp - on coupling is a popular choice.
- Attach the coupling: Slide the coupling onto one of the hoses. Make sure it's far enough down the hose so that you can still easily connect the other hose. Then, insert the end of the second hose into the coupling. Align the two hoses properly to ensure a straight connection.
- Tighten the coupling: If it's a clamp - on coupling, use a screwdriver or a wrench to tighten the clamps. Make sure the clamps are tightened evenly around the circumference of the coupling. This will create a secure seal between the hoses and the coupling.
Method 2: Vulcanizing the Hoses
Vulcanizing is a more permanent and professional way to connect hoses, but it requires special equipment and skills. Here's a general overview of the process:
- Prepare the hoses: Cut the ends of the hoses at a 45 - degree angle. This will increase the surface area for bonding. Clean the cut ends thoroughly to remove any contaminants.
- Apply the adhesive: Use a vulcanizing adhesive that's specifically designed for rubber hoses. Apply a thin, even layer of the adhesive to the cut ends of the hoses.
- Join the hoses: Press the two hose ends together firmly, aligning them properly. Make sure there are no air bubbles or gaps between the hoses.
- Cure the bond: Place the joined hoses in a vulcanizing press or an oven at the recommended temperature and time. This will cure the adhesive and create a strong, permanent bond between the hoses.
Method 3: Using a Sleeve
A sleeve is another option for connecting hoses. Here's how it works:
- Select the sleeve: Choose a sleeve that's made of a compatible material and has the right size for your hoses. The sleeve should be long enough to cover the joint between the two hoses.
- Prepare the hoses: Clean the ends of the hoses as before. Slide the sleeve onto one of the hoses.
- Join the hoses: Insert the end of the second hose into the sleeve, aligning it with the first hose. Make sure the hoses are centered inside the sleeve.
- Secure the sleeve: Use clamps or bands to secure the sleeve in place around the hoses. Tighten the clamps evenly to create a good seal.
After you've connected the hoses, it's important to test the connection. You can do this by running a small amount of fluid or material through the hoses at a low pressure. Check for any leaks around the connection point. If you find a leak, you may need to tighten the coupling, re - apply the adhesive, or adjust the sleeve.
When working with discharge rubber hoses, there are a few safety tips to keep in mind. Always wear appropriate safety gear, such as gloves and safety glasses. Make sure the hoses are properly supported to prevent kinking or damage. And never exceed the recommended pressure or temperature limits of the hoses.

If you're still not sure which method is best for your project or if you have any other questions about our Dredging Rubber Hose or other discharge rubber hoses, don't hesitate to reach out. We're here to help you find the right solutions for your needs. Whether you're a small - scale contractor or a large industrial operation, we can provide high - quality hoses and expert advice.
So, if you're in the market for discharge rubber hoses or need to connect your existing hoses, get in touch with us. We'll work with you to ensure you get the best products and support for your projects.
References
- "Rubber Hose Handbook" - A comprehensive guide on rubber hoses and their applications.
- Industry standards and guidelines for rubber hose manufacturing and connection.