Hey there! As a supplier of discharge rubber hoses, I've seen firsthand how crucial it is to ensure proper alignment during installation. A misaligned hose can lead to all sorts of problems, from reduced efficiency to costly repairs. In this blog post, I'm gonna share some tips on how to make sure your discharge rubber hose is installed correctly.
Pre - installation Checks
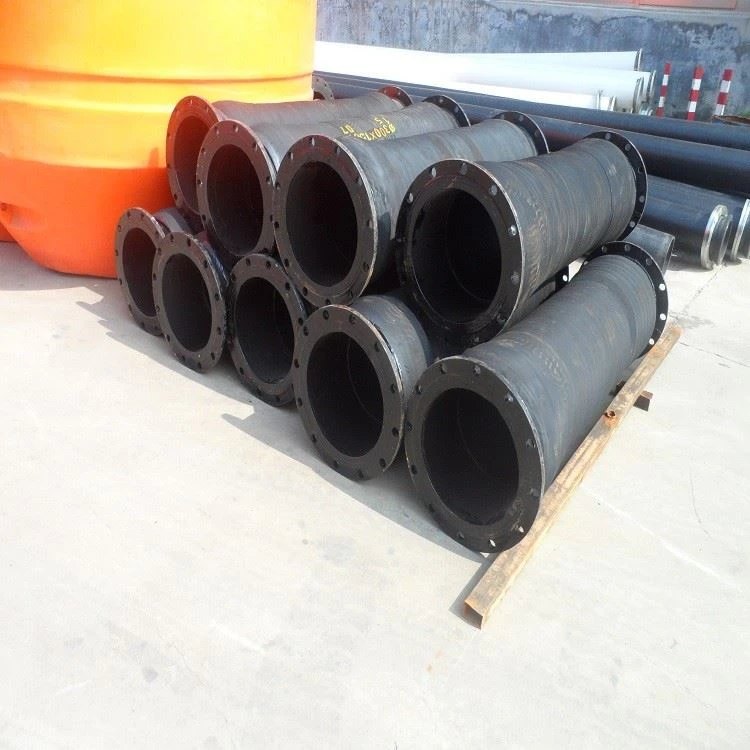
Before you even start the installation process, there are a few things you need to do. First off, make sure you've got the right hose for the job. We offer a wide range of Dredging Discharge Rubber Hose and Differenct Size Discharge Rubber Hose to meet different needs. Check the specifications of your project, like the flow rate, pressure, and the type of material that'll be flowing through the hose.
Inspect the hose for any visible damage. Look for cuts, tears, or signs of wear and tear. A damaged hose is more likely to cause problems during installation and in the long run. Also, check the fittings. They should be in good condition and compatible with the hose. Make sure the threads are clean and undamaged if it's a threaded fitting.
Measuring and Marking
Once you've got a good hose and fittings, it's time to measure and mark the installation area. Use a measuring tape to get accurate measurements. You need to know the exact length and position where the hose will be installed. Mark the starting and ending points clearly. This will help you keep the hose in the right position during installation.
If the hose needs to be bent or curved, measure the radius of the bend accurately. A sharp bend can restrict the flow and put extra stress on the hose, which can lead to premature failure. We've got Dredging Rubber Hose that can handle different bending radii, but it's still important to get it right.
Securing the Fittings
The next step is to secure the fittings to the hose. This is a critical part of ensuring proper alignment. If the fittings aren't attached correctly, the hose can move around and become misaligned.
For threaded fittings, use a proper thread sealant to prevent leaks. Tighten the fittings evenly. Don't over - tighten them, as this can damage the hose or the fitting. If you're using clamps, make sure they're the right size for the hose and fitting. Place the clamps evenly around the connection point and tighten them gradually.
Alignment During Installation
When you're actually installing the hose, keep it as straight as possible. If you need to make a bend, do it gradually. Use a bending tool if necessary to maintain a consistent radius.
Make sure the hose is aligned with the inlet and outlet ports. Any misalignment here can cause problems with the flow and put stress on the hose. If the ports are at an angle, make sure the hose is bent to match that angle smoothly.
As you install the hose, check the alignment regularly. You can use a level or a straightedge to make sure it's in the right position. If you notice any misalignment, stop and adjust it before proceeding.
Support and Bracing
Once the hose is installed, it's important to provide proper support and bracing. A hose that's not supported correctly can sag or move around, which can lead to misalignment over time.
Use hose clamps, brackets, or hangers to support the hose at regular intervals. The spacing between the supports depends on the size and weight of the hose. For heavier hoses or hoses that carry high - pressure materials, you may need more frequent supports.
If the hose is installed in an area where it's likely to be exposed to vibration, use vibration - absorbing supports. This can help reduce the stress on the hose and keep it in alignment.
Testing and Final Checks
After the installation is complete, it's time to test the system. Start the flow of material through the hose at a low pressure. Check for any leaks around the fittings. If you find a leak, stop the flow and tighten the fitting or replace the seal.
Inspect the hose for any signs of movement or misalignment. Look for any areas where the hose is rubbing against other objects. If you notice any issues, make the necessary adjustments.

Once you're satisfied with the test results, do a final check of the alignment. Make sure everything is in place and the hose is functioning properly.
Conclusion
Ensuring the proper alignment of a discharge rubber hose during installation is crucial for its performance and longevity. By following these steps, you can avoid many common problems and ensure that your hose works efficiently.
If you're in the market for a high - quality discharge rubber hose, we've got you covered. We offer a wide range of hoses to meet different needs. Whether you need a Dredging Discharge Rubber Hose or a Differenct Size Discharge Rubber Hose, we can provide the right solution.
If you have any questions or want to discuss your project, feel free to reach out. We're here to help you make the best choice for your needs. Let's work together to get your project up and running smoothly.
References
- Industry standards for rubber hose installation
- Manufacturer's guidelines for discharge rubber hoses