Hey there! I'm a supplier of other pipe floats, and I'm stoked to share with you how to install these nifty little things. Whether you're a DIY enthusiast or a professional in the field, getting the installation right is crucial for the optimal performance of your pipe floats.

Why Install Other Pipe Floats?
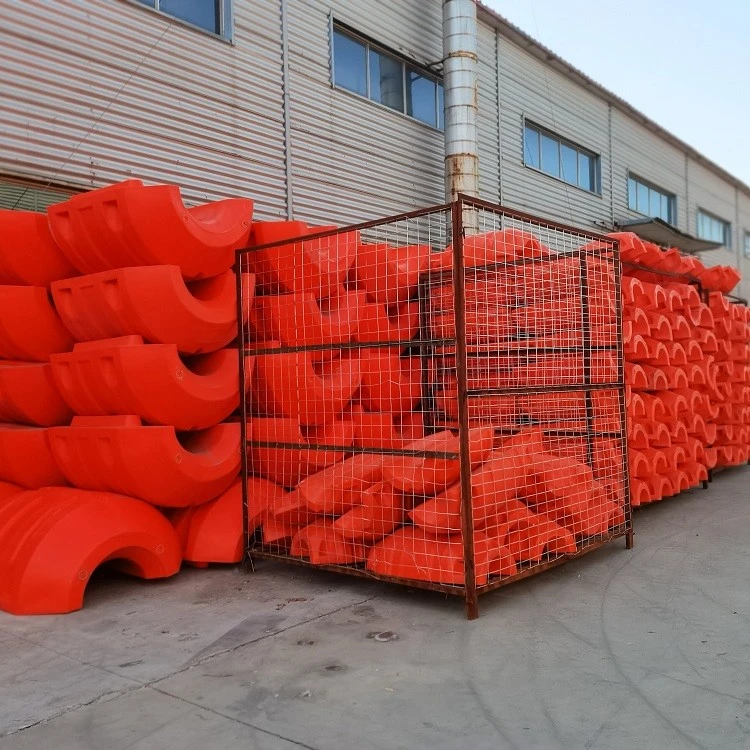
Before we jump into the installation process, let's quickly talk about why you might need other pipe floats in the first place. Pipe floats are used in a variety of applications, like keeping pipes afloat in water bodies, protecting cables from damage, and ensuring the proper alignment of pipelines. They come in different shapes, sizes, and materials to suit various needs. For instance, Pipe Float with Rubber Strip provides extra protection and stability, while Different Size Pipe Float can accommodate pipes of various diameters. And if you're dealing with electric dredger cables, Electric Dredger Cable Floats are specifically designed for that purpose.
Tools and Materials You'll Need
- Measuring Tape: To measure the length and diameter of the pipe or cable you're attaching the float to.
- Screwdriver or Wrench: Depending on the type of fasteners used with your pipe floats.
- Safety Gear: Gloves and safety glasses to protect yourself during the installation process.
- Pipe Floats: Of course, you'll need the appropriate pipe floats for your project. Make sure to choose the right size and type based on your needs.
Step-by-Step Installation Guide
Step 1: Measure and Prepare
First things first, measure the length and diameter of the pipe or cable. This will help you determine the number of pipe floats you need and ensure a proper fit. If you're using multiple floats, mark the positions where you'll be attaching them on the pipe or cable. It's a good idea to leave some space between each float to allow for flexibility and movement.
Step 2: Inspect the Pipe Floats
Before you start installing the floats, take a close look at them to make sure they're in good condition. Check for any cracks, holes, or other damage that could affect their performance. If you notice any issues, contact your supplier right away to get a replacement.
Step 3: Attach the Floats
Now it's time to attach the pipe floats to the pipe or cable. The method of attachment will depend on the type of float you're using. Some floats come with pre-drilled holes and can be attached using screws or bolts. Others may have a clamp or snap-on design that makes installation quick and easy.
- Screw or Bolt Attachment: If your floats have pre-drilled holes, align them with the marked positions on the pipe or cable. Insert the screws or bolts through the holes and tighten them securely using a screwdriver or wrench. Make sure not to overtighten, as this could damage the float or the pipe.
- Clamp or Snap-On Attachment: For floats with a clamp or snap-on design, simply open the clamp or snap and place the float around the pipe or cable. Close the clamp or snap tightly to secure the float in place.
Step 4: Check the Alignment
Once you've attached all the floats, take a step back and check the alignment. Make sure the floats are evenly spaced and centered on the pipe or cable. If necessary, make any adjustments to ensure a straight and level installation.
Step 5: Test the Installation
After you've completed the installation, give the pipe or cable a gentle tug to make sure the floats are securely attached. If you notice any movement or looseness, go back and check the fasteners to make sure they're tightened properly.
Tips for a Successful Installation
- Read the Instructions: Always read the installation instructions that come with your pipe floats. They'll provide specific details and guidelines for your particular product.
- Work in a Safe Environment: Make sure you're working in a safe area with plenty of space to move around. Wear your safety gear at all times to protect yourself from injury.
- Take Your Time: Installation may seem like a simple task, but it's important to take your time and do it right. Rushing through the process could lead to mistakes and a less-than-optimal installation.
Contact Us for More Information
If you have any questions about installing other pipe floats or need help choosing the right product for your project, don't hesitate to reach out to us. We're here to assist you every step of the way. Whether you're a small business owner or a large industrial contractor, we have the expertise and products to meet your needs. So why wait? Contact us today to start discussing your pipe float requirements and let's get your project off the ground!
References
- Industry Standards for Pipe Float Installation
- Manufacturer's Installation Guides for Pipe Floats